STEM + Art = S.T.E.A.M.! When kids combine STEM and art, there’s no limit to what they can learn. S.T.E.A.M. allows your #younginventor to really explore their creative side and enhance their fine motor skills all while doing fun activities!
It’s February and everyone knows that this month is about celebrating love! Instead of just celebrating it for one day, we are challenging you to show your love all month long! Take this month to express your love and gratitude towards our loved ones, and a great way to show your love for your kiddos is by spending time with them!
This month, we’ve selected easy and fun S.T.E.A.M. activities for you and your #younginventor to enjoy together! 💖💡
S.T.E.A.M. Activity 1:
Celebrate Love and Create A “Heart Structure” Out of Candy!💖🧠💡
Doing this S.T.E.A.M. activity is not only fun for your #younginventor but also encourages them to develop their fine motor skills through play. Kids are so busy designing, building, problem-solving, and having fun they don’t even realize they’re learning and growing.
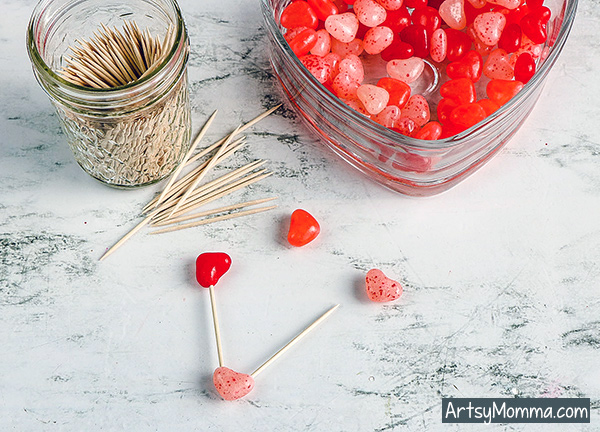
Materials You Will Need:
- Heart-shaped gumdrops (Any gumdrop will do – heart shape just makes it feel more festive!)
- Toothpicks
Directions:
-
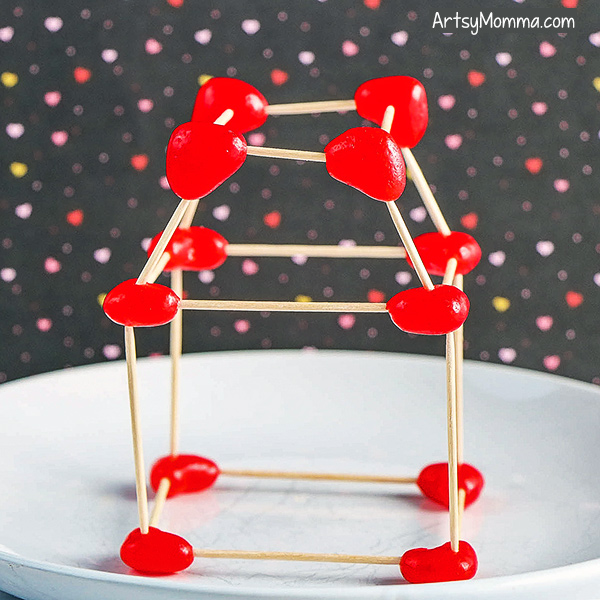
- Reminder: the bigger the base, the taller it will be and the more hearts you will need to use!
- Grab your gumdrops and toothpicks and begin connecting the two to form a hexagonal shape.
- Pro tip: Each row has two toothpicks into each heart.
- Next, use pieces of toothpicks {easy to break} to stabilize the structure as you build upwards. Your design will come to life as you go along.
- Keep adding layers with the same pattern. Towards the top, you might have to adjust the number of toothpicks we used per heart as it gets a little tight.
The photos used for this activity were taken by artsymomma.com
S.T.E.A.M. Activity 2:

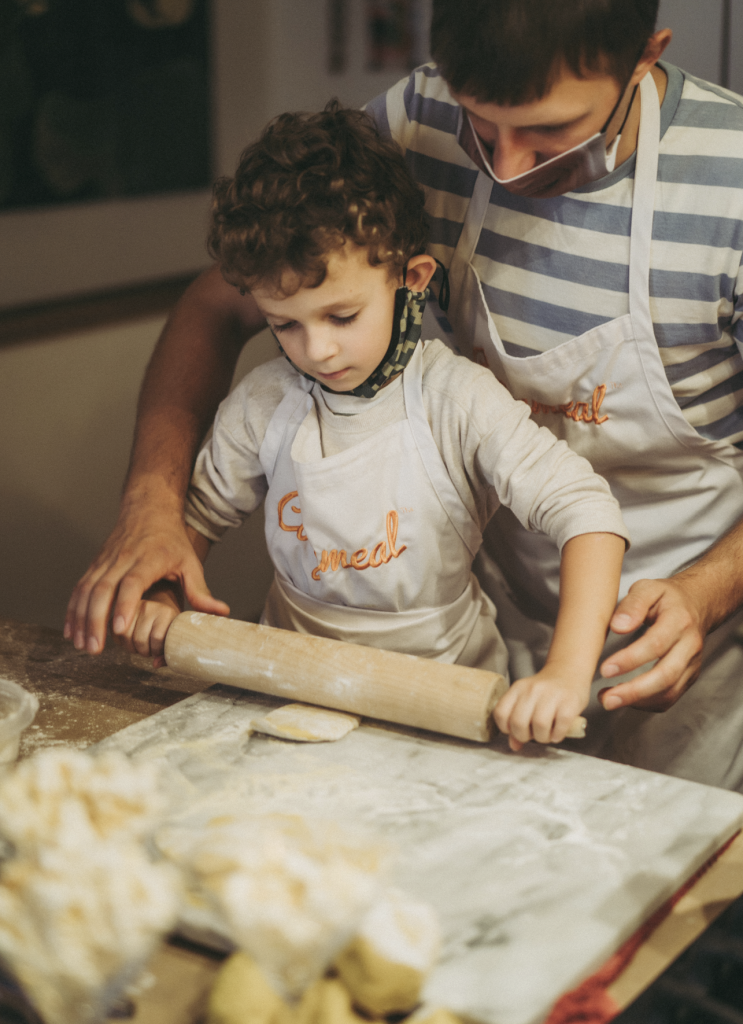
Have fun with your #younginventor using this easy to make pizza recipe! 🍕💖
Everyone loves food. It’s fun to make, it’s fun to eat, but did you know cooking involves S.T.E.A.M.? That’s right there’s plenty to study and learn when it comes to cooking. There is a lot of science that goes into the everyday foods that you love.
Explore questions such as how baking ingredients work, how and why certain ingredients mix well together, and why people’s tastes differ.
Equipment Needed:
- Cutting board
- Knife
- Cheese grater
- Bowls of toppings
- Rolling Pin
- Pizza pans or large rimmed baking sheet(s)
- Pizza Cutter
- Serving platter or board
Ingredients:
- 1 (14- to 16-ounce) ball pizza dough
- 1½ cups super-easy marinara sauce (or your favorite pizza sauce)
- 6 ounces mozzarella, Jack, Colby, or cheddar cheese, grated or cut into ½-inch cubes
- Toppings of your choice (here are some ideas: sliced bell peppers, onions, mushrooms, olives, roasted red peppers; blanched broccoli or cauliflower florets; chopped artichokes, cooked bacon, cooked chicken; cooked and crumbled sausage; sliced pepperoni or other cured meats; sun-dried tomatoes; etc.)
- Extra-virgin olive oil
- Salt and freshly ground black pepper
- Condiments for serving (ranch dressing, hot sauce, etc.)
Directions:
- Preheat the oven to 500°F. Line two large rimmed baking sheets with parchment paper or grease them with a little olive oil.
- Prep your toppings while the oven preheats, and place them all in separate bowls on a counter or table within easy reach of each pizza maker.
- Cut the ball of dough into 4 equal-size pieces. Give one piece of dough to each person and let them roll, stretch, or press it out to a 6- to 8-inch circle. Encourage everyone to form their pieces into pizza-size circles and then get right to topping.
- Place two rounds of dough on each baking sheet and let each person top their pizzas however they like! No combination of ingredients is off limits (as long as there’s enough for everyone). As a general rule, two or three spoonful’s of sauce is plenty for individual pizzas. As far as the other toppings go, however, there are no limits! (Just know that the crust might be flimsy and wet in the middle if you pile on too much. Encourage your fellow pizza makers to grab pinches or spoonful rather than handfuls of toppings.) 🍕Pro tip: Making pizza faces (see photo above) or other patterns with colorful toppings will prevent pizza makers from overloading their crusts.🍕
- Transfer the baking sheets to the oven.
- Bake the pizzas for 10 to 15 minutes, rotating them halfway through, until the crust is golden and the cheese begins to brown in spots.
- Remove the pizzas from the oven.
- Drizzle the pizzas with a little olive oil and season with a pinch of salt and a grind or two of black pepper if desired. Let them cool for a few minutes before slicing.
- Serve the pizzas on their own or with ranch dressing, hot sauce, or other condiments for dipping/topping.